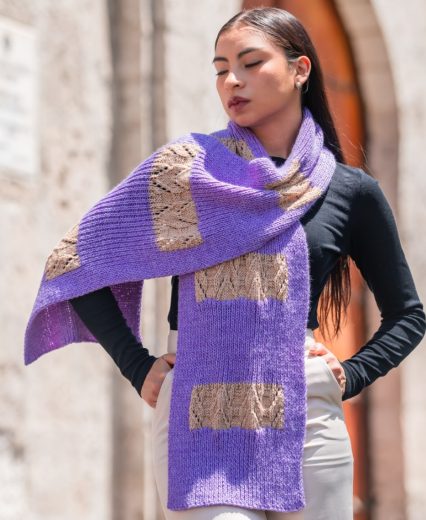
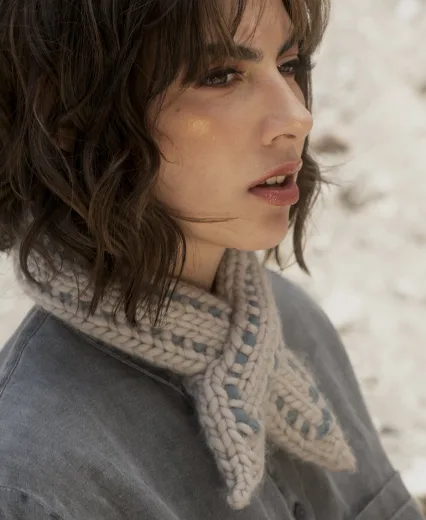
In the quiet arrival of autumn, nature begins its colorful transformation. Leaves once vibrant green prepare to let go for winter and embark on a graceful dance of change. Like the skilled hands of a knitter gently guiding yarn back and forth on their needles, the leaves create a variety of colors across the landscape. Each leaf becomes a testament to nature’s artistry, reminiscent of the intricate patterns and textures that adorn knitted handmade creations. Changing colors in knitting can range from something as simple as stripes to more complex, like following a color chart. This post will explore three of my favorite color change techniques for knitters and some tips on adding new yarn colors to your projects. (Along with a free crochet pattern that explores changing colors!)
STRIPES:
While color-changing techniques can become more complicated with slipped stitches and following color charts, one of my favorite basic color-change techniques for knitters is knitting stripes. Stripes are gender neutral, fashion-forward, and can be found in various widths, orientations (vertical, horizontal, diagonal), and colors. Knitting stripes is a fun and simple way to add new yarn colors to your projects and offer classic, stylish interest to your knits. Stripes can be found in knit and crochet garments such as sweaters and dresses and nearly every accessory you can imagine; beanies, scarves, cowls, and mittens.

(This sample is knit in Marvel in Hazel Wood and Gold Star colors for a subtle stripe pattern. The chosen width of the stripes helps the colors stand out.)
SIMPLE STEPS FOR KNITTING STRIPES:
- To start, cast on and knit (or use your preferred stitch) for as many rows as desired with the first yarn color.
- When transitioning to the second color, simply drop the first yarn and begin knitting with the second color. When you initially knit this stitch, it will appear a little loose and messy, which is to be expected. As you progress along the row, you can improve the appearance by gently pulling on the yarn tails to tighten up the last stitch of the previous row and the first stitch of the current row.
- After successfully changing colors, continue knitting across the row and keep working with the new color until you decide to change back to the first color you are using or add a third color!

TIPS FOR KNITTING STRIPES:
- KEEP YARN TYPE CONSISTENT: Purchase the same type/brand/weight of yarn in different colors. This will ensure that your stripes are the same thickness and gauge. If you are stash-busting your Yarnalia yarns, select yarns in the same weight/thickness so that you maintain gauge.
- CARRY THE YARN: If you knit an even number of rows for each stripe, you can carry the colors up the side of your knitting. This method is much simpler than cutting the yarn each time you switch colors, and it eliminates the need to weave in ends after every stripe.
- CLEAN COLOR CHANGES: Aim to switch colors at the beginning of right-side rows, especially in stitch patterns such as Garter and Stockinette. This will form a clean shift from one color to the next, though it is not mandatory, especially if you knit stripes of different widths in the same project.
YARNALIA SUGGESTIONS:
While stripe color combinations are endless with Yarnalias’s range of hues, here are a few fun combinations that might help inspire your creations!
For a classic, sophisticated look, try Raven and Snow:

For a bright pop of preppy color, try Hibiscus Flower and Island Blue:

For a tiny hint of color with classic grey, try Pale Violet and Pearl River:

At first, the shift in changing leaves is subtle. The leaves turn a soft orange, but soon, they will deepen to rich hues of red. For this reason, I was inspired to work with Cozy, our 100% Baby Alpaca, in Tangerine (Color A) and Scarlet (Color B). Cozy is the perfect yarn to try mosaic knitting– luxuriously soft yet strong, tightly spun to create incredible stitch definition with changing colors in knitting.

(This Mosaic knit watch is knit with Cozy in Tangerine and Scarlet.)
MOSAIC KNITTING:
Mosaic knitting is a great color changing method to create geometric designs on projects like sweaters, scarves, and shawls, along with many other knit items. This technique involves slipping stitches with the yarn carried to the wrong side of the fabric, working two rows with one color before switching to another. In each pair of rows, the second row mirrors the first: stitches worked in the first row are worked again, and slipped stitches are slipped again. Mosaic knitting is a perfect technique to introduce color changing to beginner knitters as it doesn’t require holding two yarns at the same time and can be done using knit stitches only! (Who doesn’t love a simple project that requires no purling?)

SIMPLE STEPS FOR MOSAIC KNITTING:
Cast on multiples of five plus four edge stitches. For this sample, I cast on 24 stitches and followed the following 10-row pattern repeat:
- Color A installation row 1: knit all STS
- Color A installation row 2: k2, purl all sts, k2
- Row 1 RS Color B: K2 *K4 SL1* Rep * to last 2 sts, K2
- Row 2 (and all WS/even rows): With the same color used on the previous row, K2, knit the purl stitches and slip the slipped stitches as they face you, k2
- Row 3: Color A: K2, *K3 SL1* Rep from * to last 2 sts, K2
- Row 5: Color B: K2 *K2 SL1 K2* Rep from * to last 2 sts, K2
- Row 7: Color A: K2, *K1 SL1 K3* Rep from * to last 2 sts, K2
- Row 9: Color B: K2, *SL1 K4* Rep from * to last 2 sts, K2
TIPS FOR MOSAIC KNITTING:
- PRACTICE SLIPPED STITCHES: When slipping stitches, make sure you’re doing it with the yarn at the back or front, as instructed. Typically, you will not want your slipped stitches (or floats) to show, so you will slip stitches held in the back on the right side of your work and slip with the yarn in front on the wrong side. This will affect how your pattern appears.
- (ALMOST) ALWAYS KNIT WS ROW USING THE SAME COLOR: With the exception of a few advanced patterns, you can depend on almost always turning your fabric and knitting the wrong side row in the same color as the previous row.
- WATCH TENSION: Each slipped stitch creates a small float on the wrong side of your work. These floats should be the same length as the width of the stitches they span. Keeping the stitches spaced out on the right needle and avoiding bunching them together in your hand will keep the fabric from puckering.
YARNALIA SUGGESTIONS:
Cozy in Cobblestone and Forest Moss

Peacock Feather and Sea Foam:

Dusty Rose and Shadow:

FAIR ISLE KNITTING:
Fair Isle knitting is a colorful and captivating technique that originates from the Shetland Islands of Scotland. Named after Fair Isle, one of the Shetland Islands, this method involves creating intricate patterns using multiple colors in a single row. Fair Isle designs are often charted, meaning you’ll follow a visual pattern where each square represents a stitch, and the color indicated is the one you’ll use for that stitch.
SIMPLE STEPS FOR FAIR ISLE KNITTING:
Reading knitting charts might seem intimidating at first, but it’s actually quite straightforward when it comes to Fair Isle knitting. You just need to keep two main points in mind:
- A knitting chart isn’t a mathematical diagram; it’s simply a line-by-line visual representation of your pattern, with each square corresponding to one stitch.
- Read the chart from right to left, just like you knit, and from left to right on the wrong side.
To follow a Fair Isle chart, start by placing your finger on the rightmost box. Check the color in that box and knit the corresponding stitch. Move your finger to the next box, note its color, and knit accordingly. After completing one round, shift up one line and repeat the process. Using post-its can help you keep track of where you are.
TIPS FOR FAIR ISLE KNITTING:
- CREATE A BASE: It is helpful to start with a single-color base to hold on to before you begin adding more colors to a project. This is usually considered especially in the design of the brim of a hat, collar, or yoke (for top-down sweater knitting) and hem ( with bottom-up sweater knitting) of a pullover sweater.
- TENSION: While tension is always critical in knitting, it becomes even more important when knitting fair isle. Holding appropriate tension ensures that the “floats” or wrong side (horizontal strands of yarn) and the right side stitches are not too tight or loose. If it is too tight, your color changes could pucker and get lost in the fabric. If it is too loose, your fabric can have holes.
- CHANGING COLORS: To change colors seamlessly, be sure to twist the yarns before working the next stitch.
- COLOR DOMINANCE: Make sure the colors you are knitting with have enough color difference so that all your hard work with Fair Isle will stand out!
Feeling creative? Design your own color chart on stitch fiddle and create a completely unique Fair Isle pattern. You can even note the Yarnalia colors you are working with!
Here’s the color chart I created using our sport-weight yarn, Marvel, in three colors; Hazel Wood, Gold Star, and Matcha Tea:

YARNALIA SUGGESTIONS:
Bright Sapphire, Island Blue, and Snow in Marvel

Pale Violet, Raven, and Ruby Shoes in Marvel

As the season draws to a close, the landscape stands adorned in a mosaic of warmth and nostalgia, like a cherished handmade scarf or blanket that brings comfort on a cool evening. In both knitting and autumn’s palette, there lies a timeless beauty—a reminder that change, though inevitable, can be as breathtaking as it is fleeting. We hope you’ll try these color-changing techniques in your projects with our wide range of Yarnalia’s autumnal hues. Be sure to stock up on Cozy and Marvel, both 20% off for the entire month of September! Remember to tag us@yarnalia and #createwithyarnalia so that we can see your creations!


