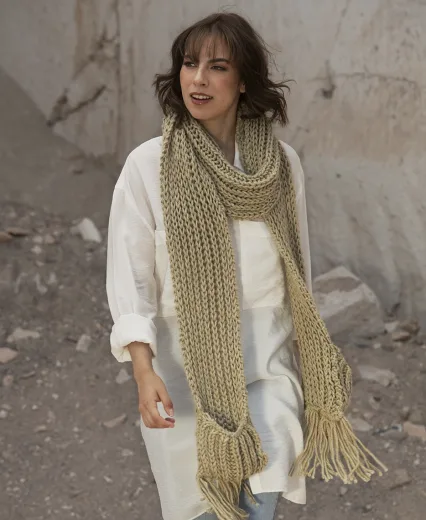

Super quick to knit in Yarnalia Softy, the Clothilde Scarf is the perfect accent for fall weather. Clothilde is cute, cozy, and a little bit quirky–and in chunky 100% merino wool Softy, she’s a feather-soft hug around your neck.
Clothilde is knit in the round in a tube, with simple shaping forming the points at either end. Single garter stitch columns add texture. The scarf is fastened with a keyhole opening at one end. This is created by knitting each side of the tube flat for a small section, which creates openings at either side.
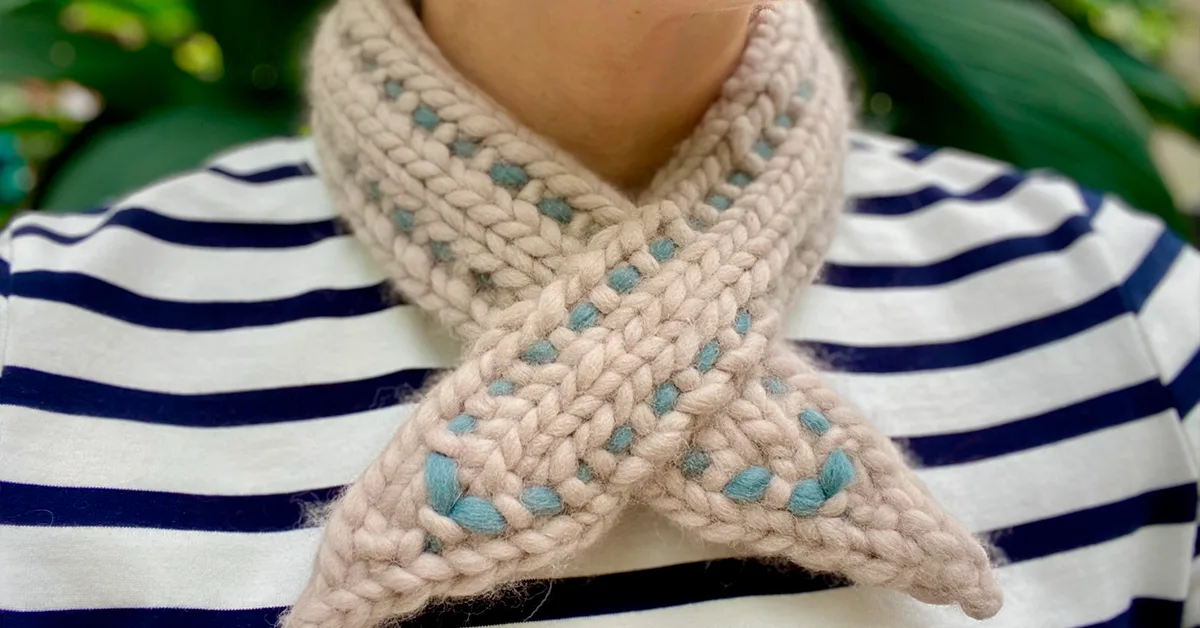
The scarf takes only one skein of Softy to complete. An optional contrasting color of Softy is embroidered through the bumps created by the purl pattern to form a dotted colorwork motif.
We have included photo tutorials to show you how to knit the keyhole opening and addthe contrast color. Scroll to the end of the post to check them out!
PATTERN
TUTORIAL: KEYHOLE FLAPS
Step 1

Continue working in Pattern Stitch until work measures 22” from starting point, ending with a Rnd 2 (K) rnd.
Step 2
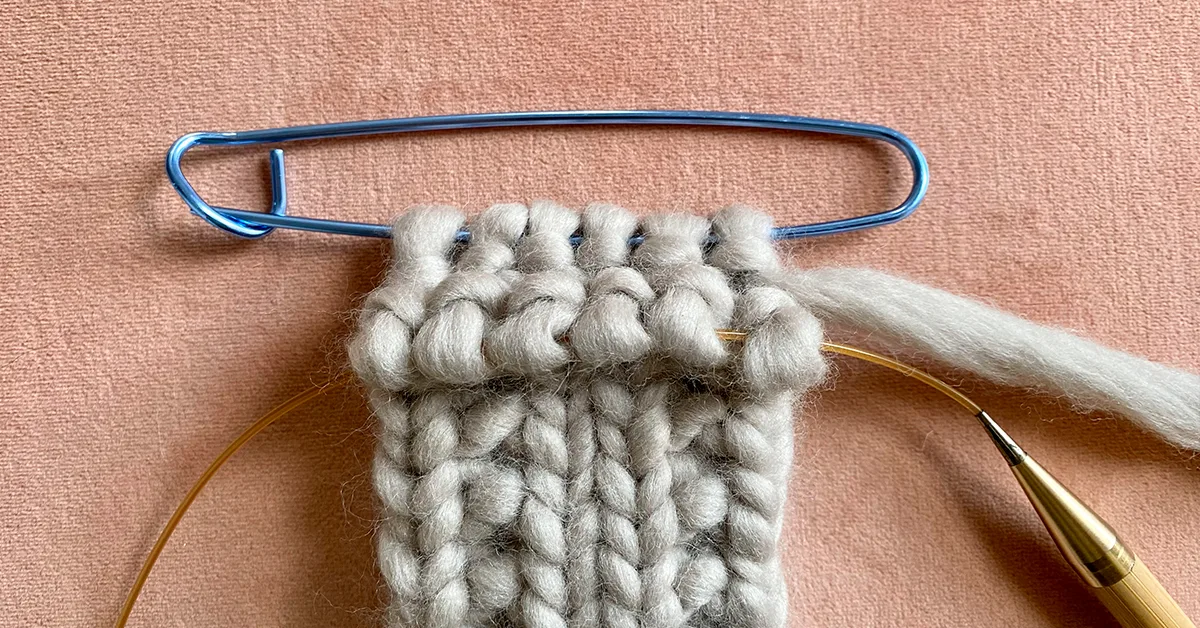
Place last 6 sts worked on holder. You will be working the remaining stitches flat for the keyhole opening.
Step 3
Start first keyhole flap: K1, p1, k2, p1, k1. Stop and turn work.
Step 4
Purl across.
Step 5

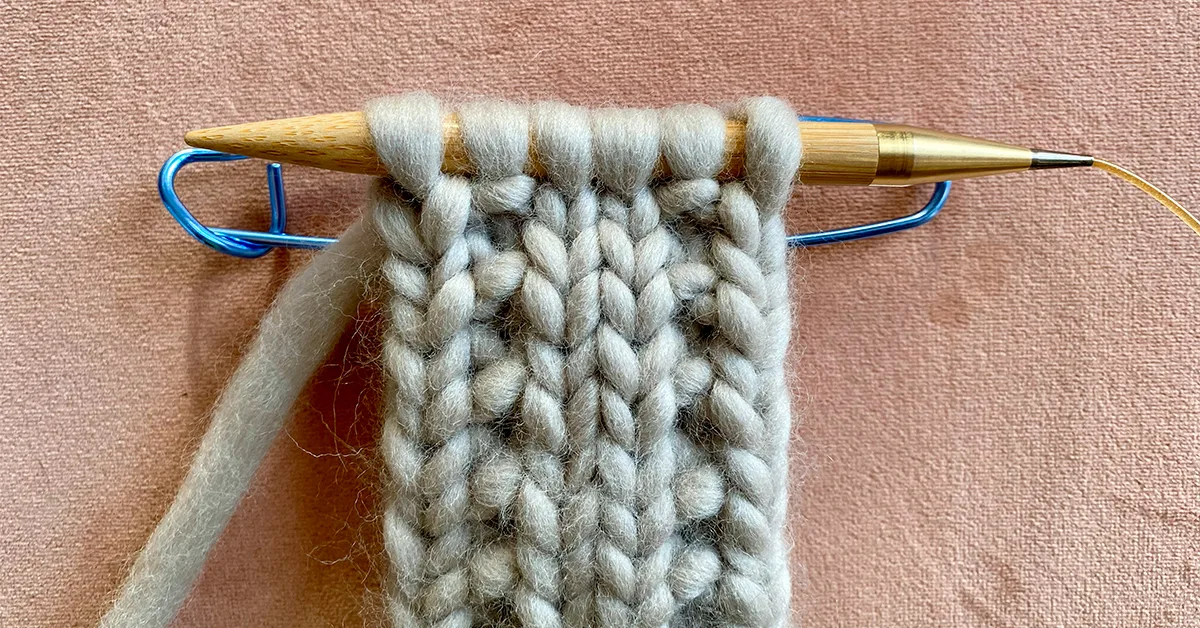
Repeat last two rows 3 times, ending with a WS row. Keep these sts held on a single dpn OR the circular needle cord. Do not break yarn.
Step 6

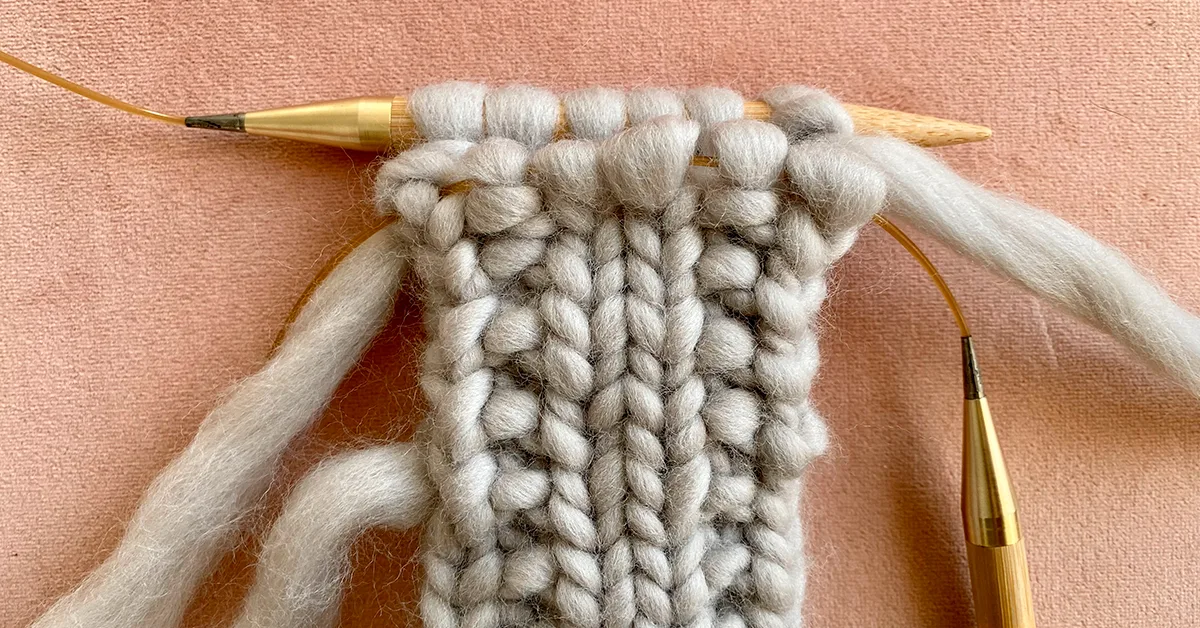
Work second keyhole flap: Place held stitches on needle with RS facing.
Step 7
(Optional for Magic Loop technique) If using Magic Loop technique, you will then need to transfer these sts to the other needle in order to work from the RS.
Step 8
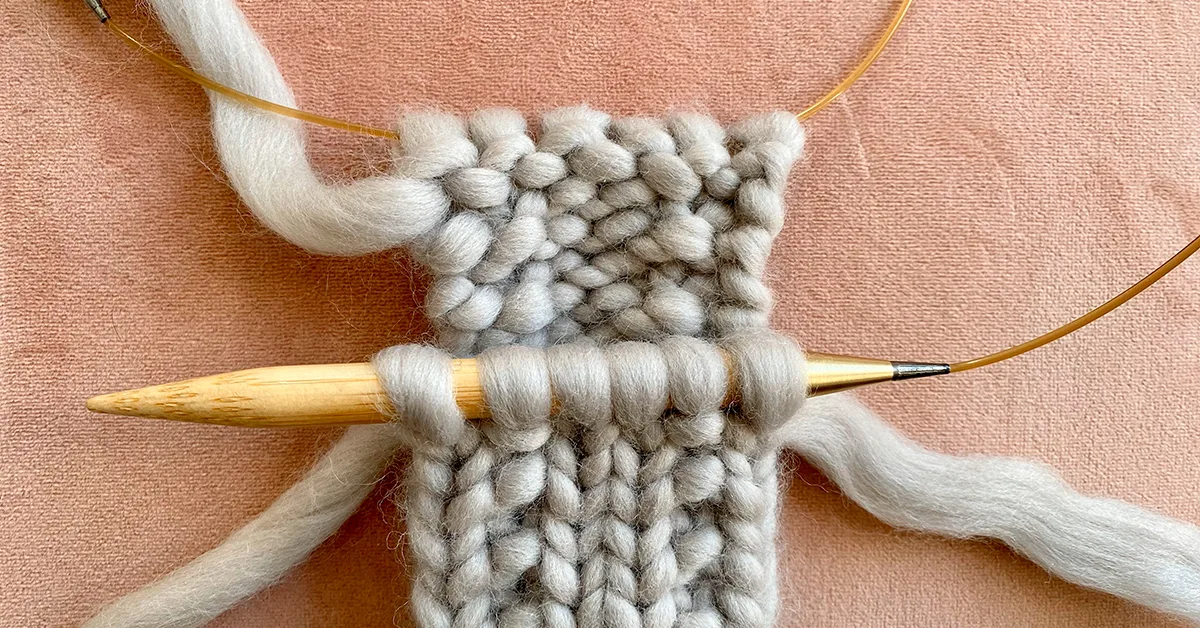
Working from other end of skein, join new yarn. K1, p1, k2, p1, k1. Stop and turn.
Step 9
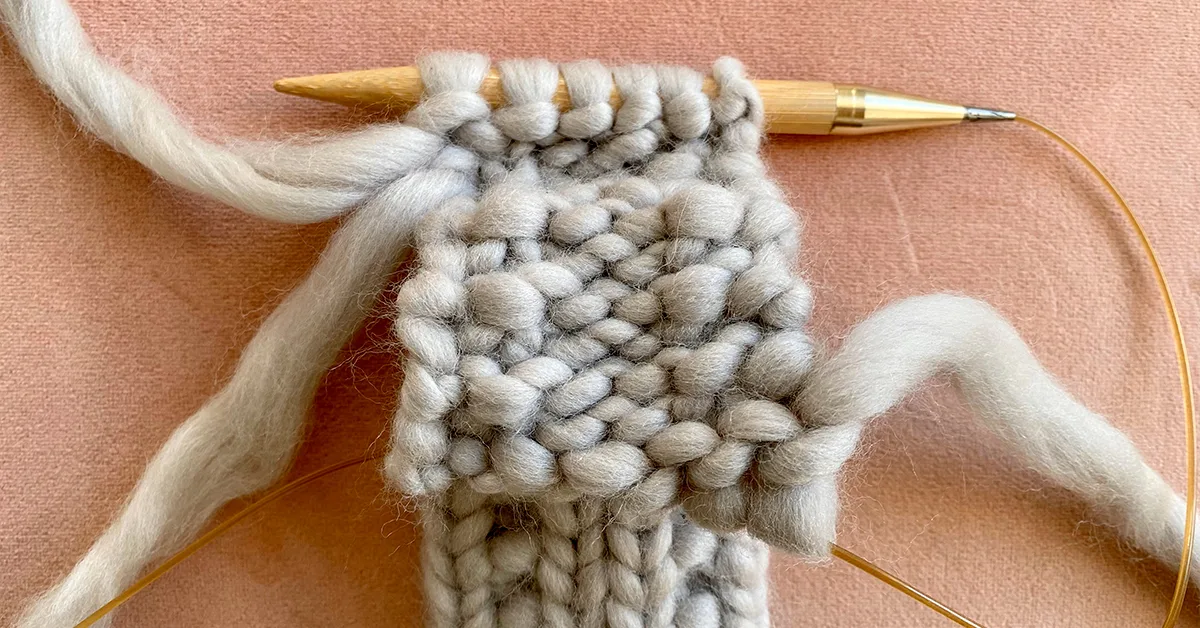
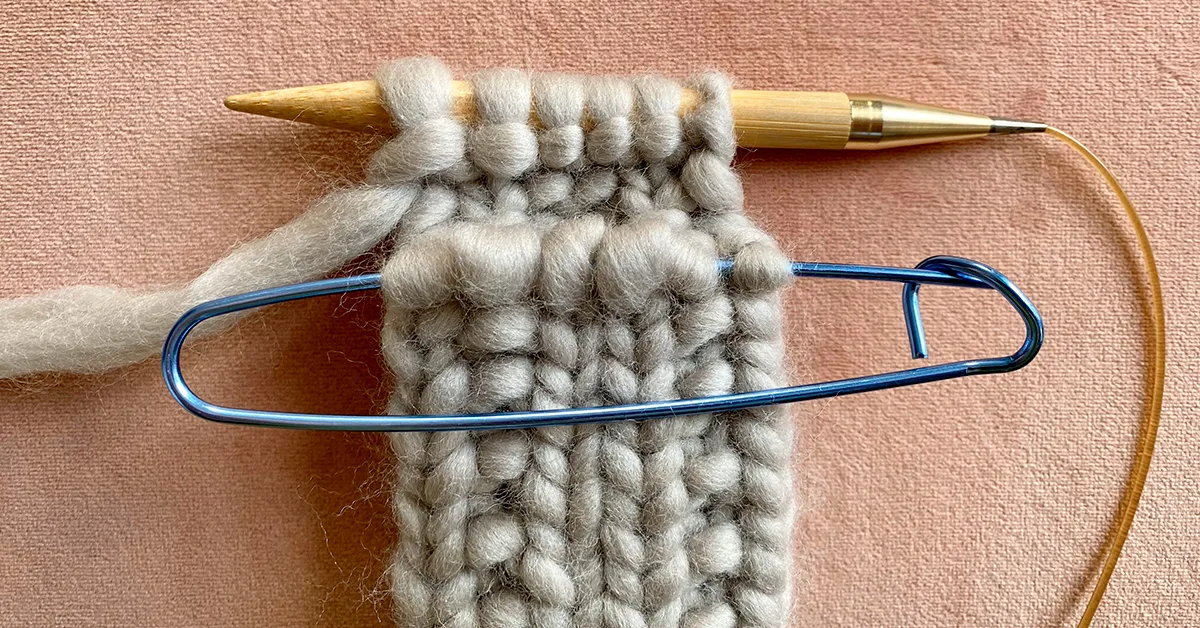
Purl across. [Note: The folded section shown in the photo is the first completed keyhole flap.]
Step 10
Repeat last two rows 3 times, ending with a WS row. Break yarn, leaving a 4” tail.
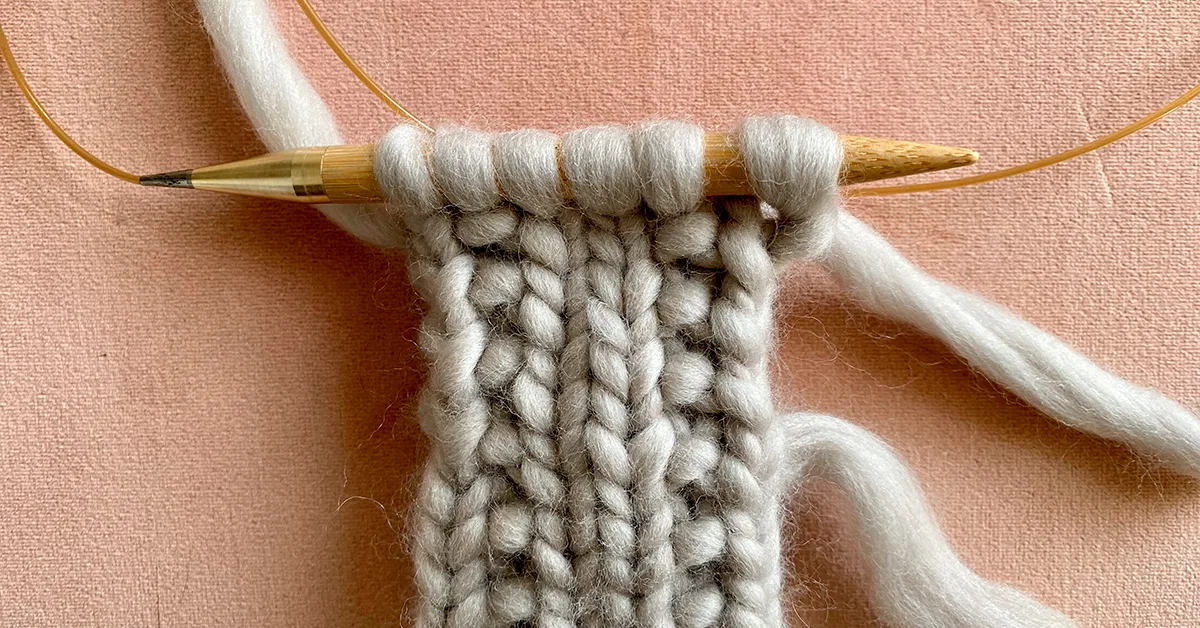
Step 11
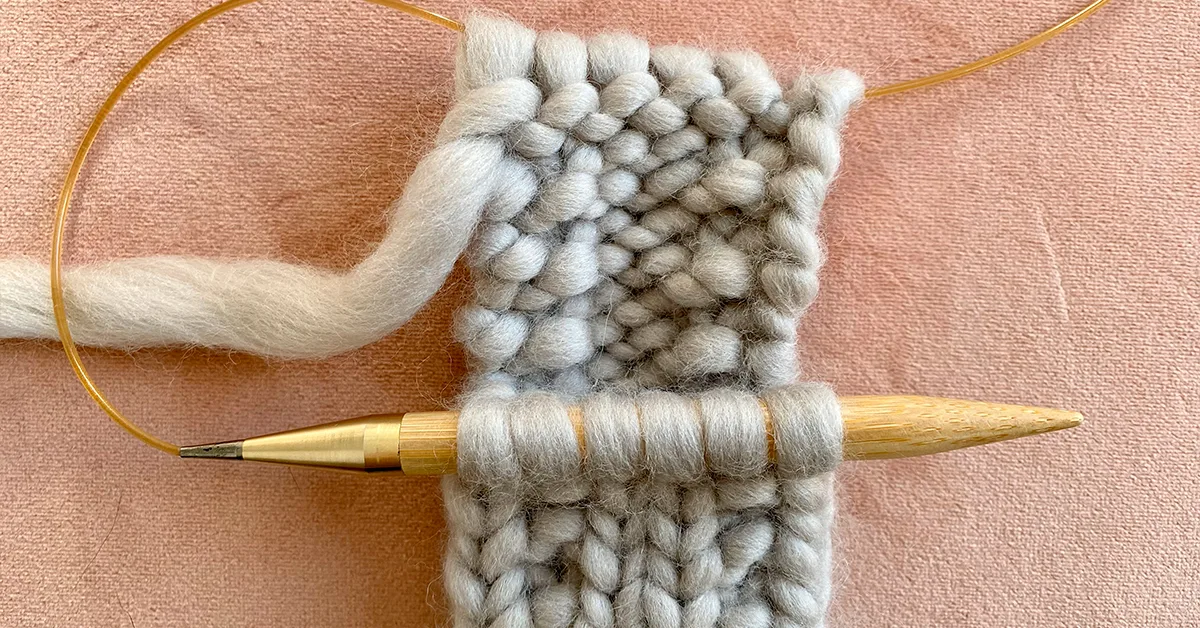
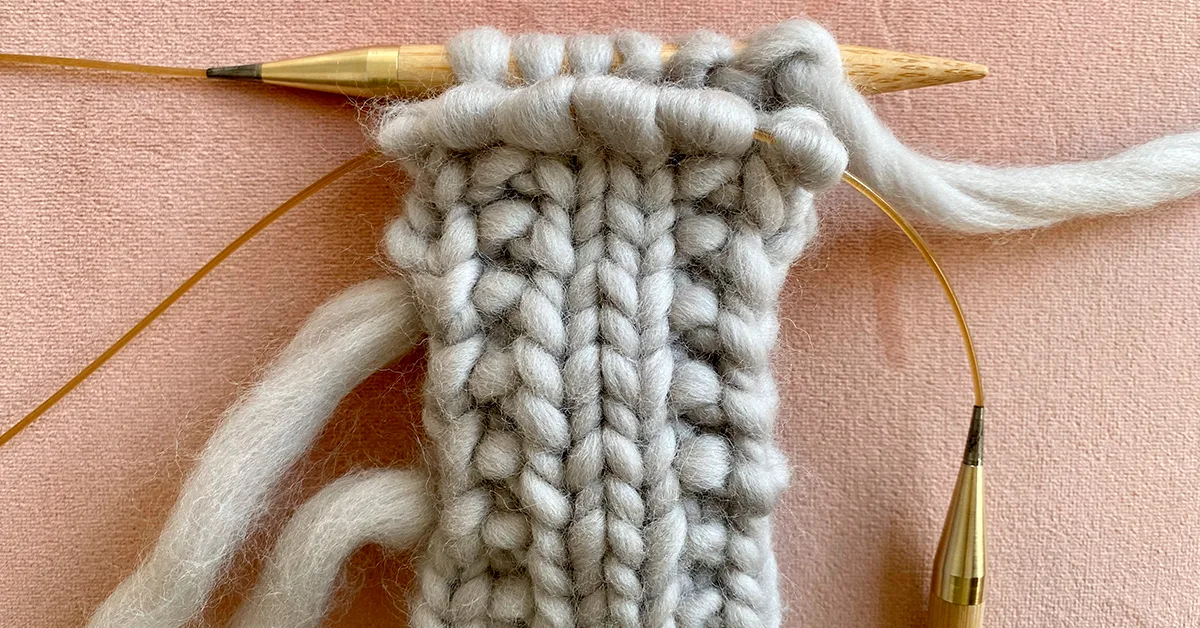
With RS facing, resume knitting in the round using main strand. [Note: The folded section shown in the photo is the second completed keyhole flap.]
(Optional for Magic Loop technique) If using Magic Loop technique, you will first need to transfer sts from the first keyhole flap worked back to the other needle so that the needle tip is pointing toward your working yarn, as shown.
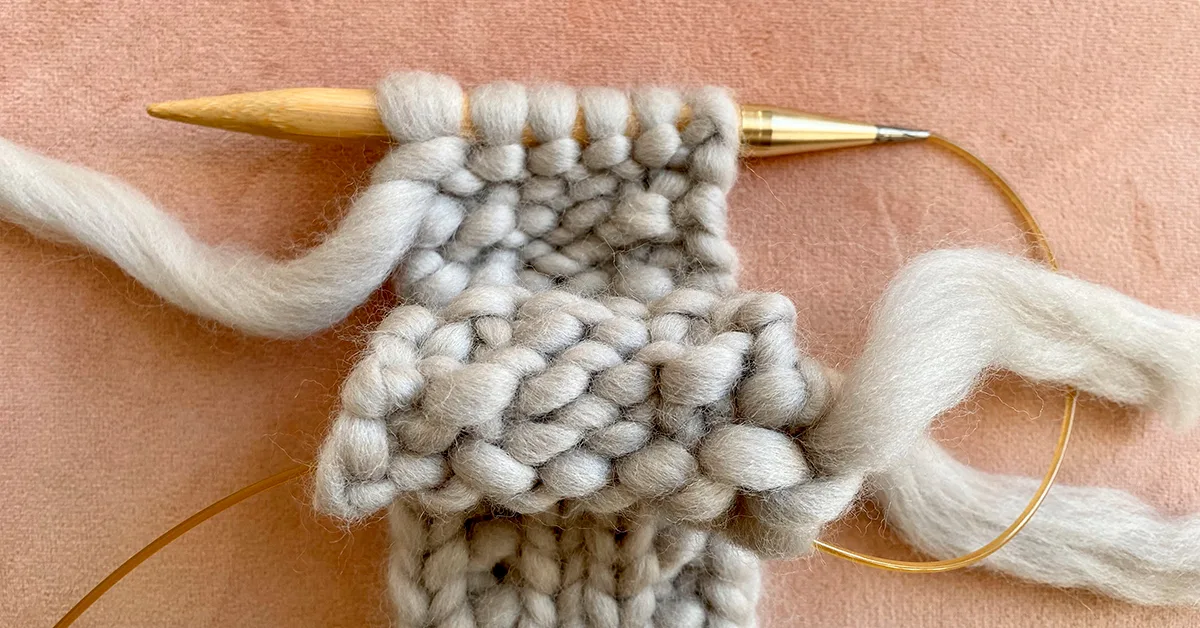
Step 12
Resuming work in the round, complete Rnd 1 of Pattern Stitch. [Note: After this first round is complete, one edge of the work will be “closed,” while the other will remain “open.” The round will be fully “closed” after subsequent rows are completed.]
Step 13
Work 3 more rounds in Pattern Stitch, ending with a Rnd 2 (K) rnd.
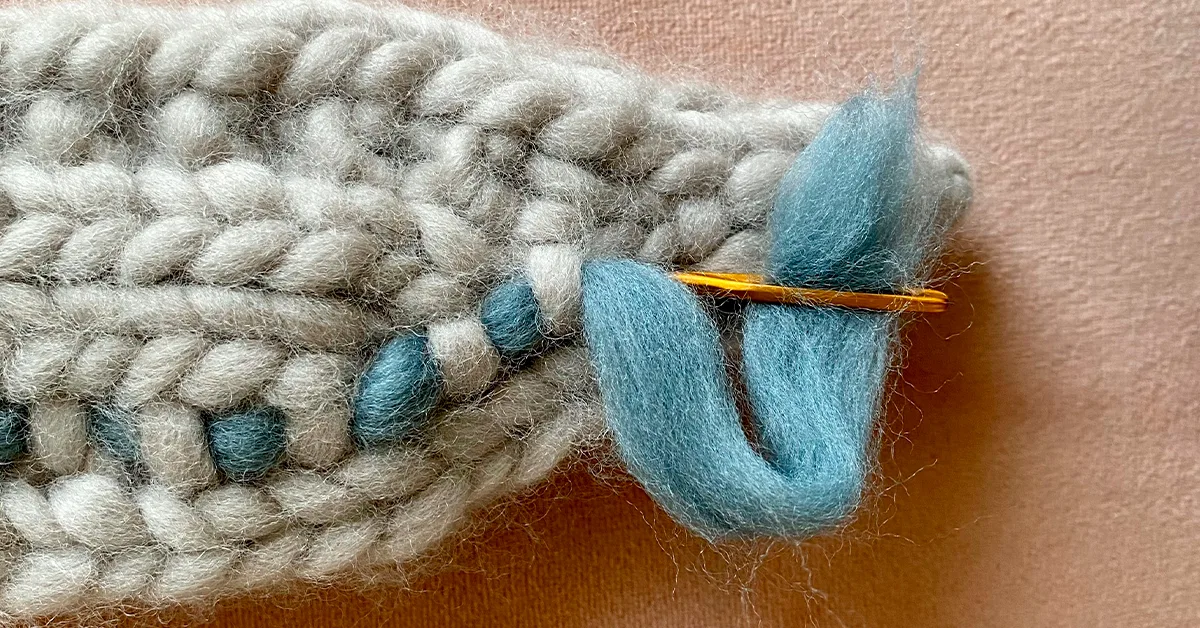
TUTORIAL: CONTRAST EMBROIDERY
Step 1
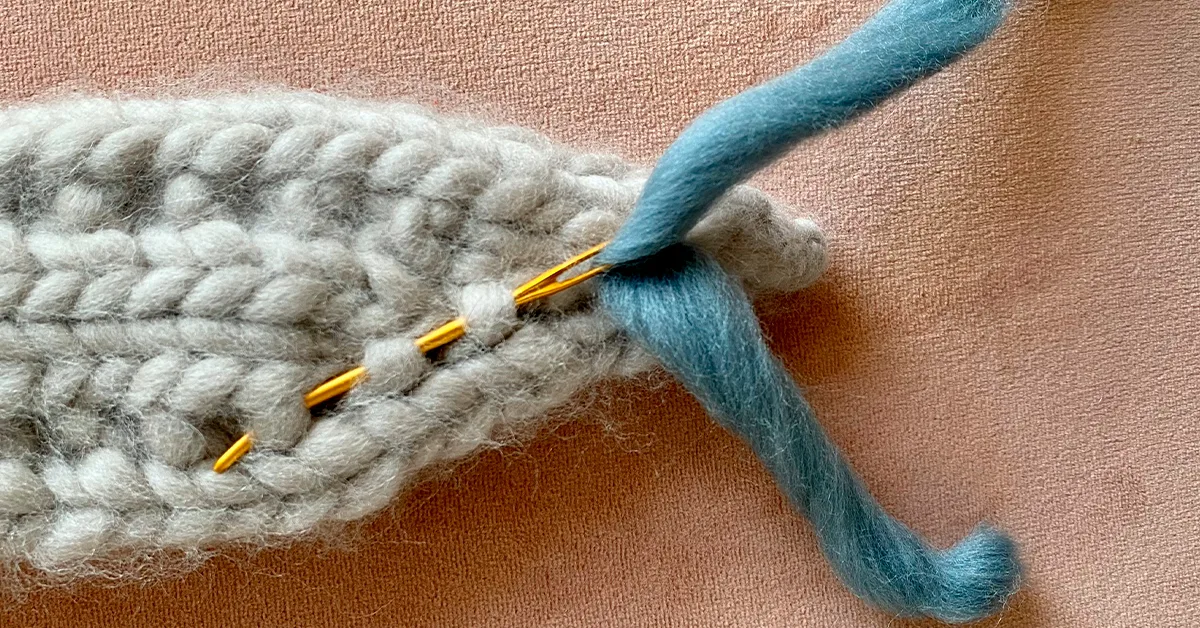
Using tapestry needle, thread yarn through bumps formed by purl and kfb stitches.
Step 2
Continue threading the yarn through a few purl bumps at a time until the embroidery runs the full length of the scarf.
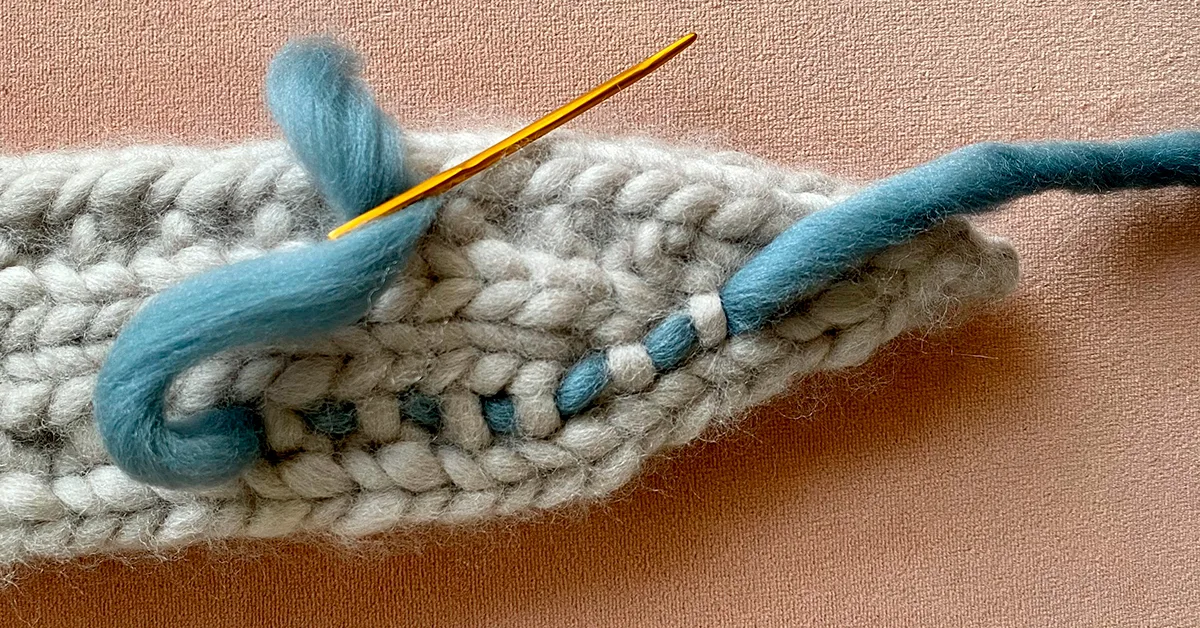
Step 3
With end of yarn threaded, insert the tapestry needle in the stitch below the first bump.
Step 4
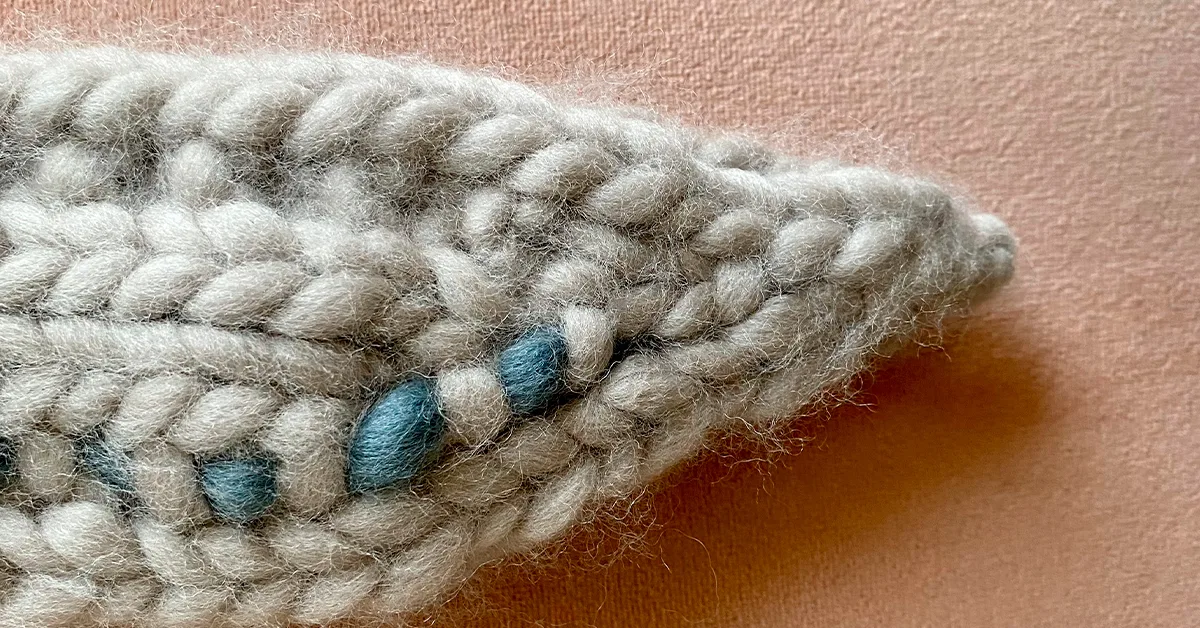
Pull the yarn end inside the tube to conceal. Repeat at other end.
Step 5
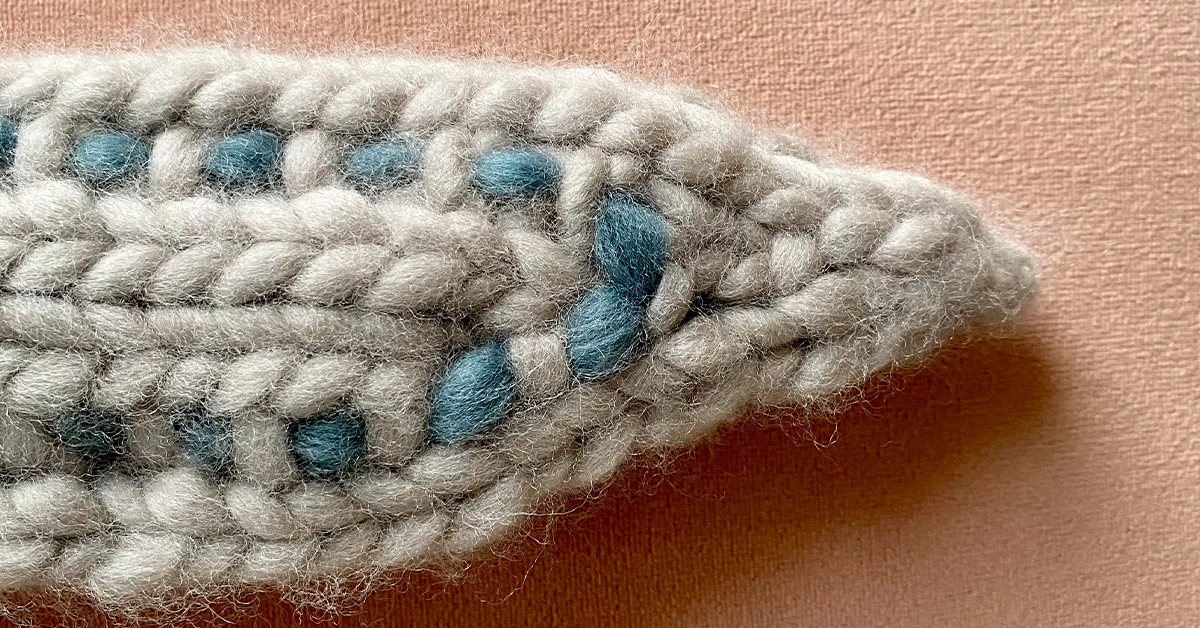
Repeat for other side.