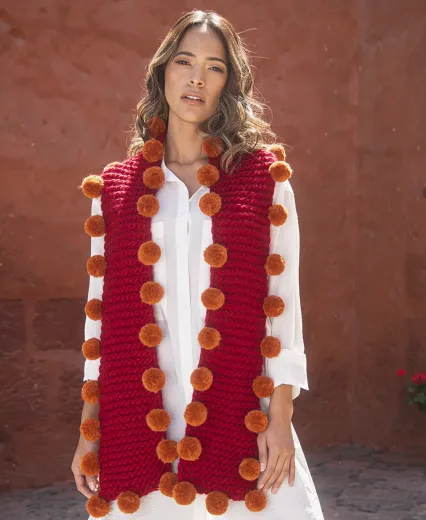
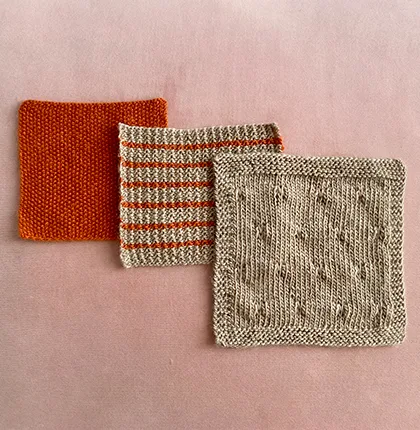
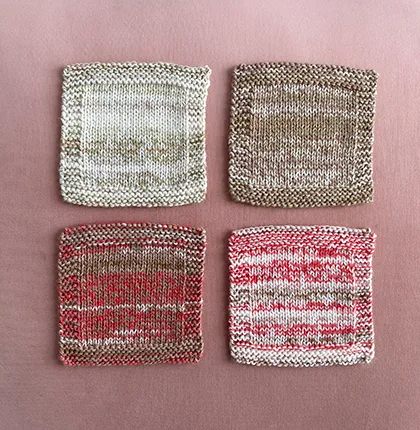
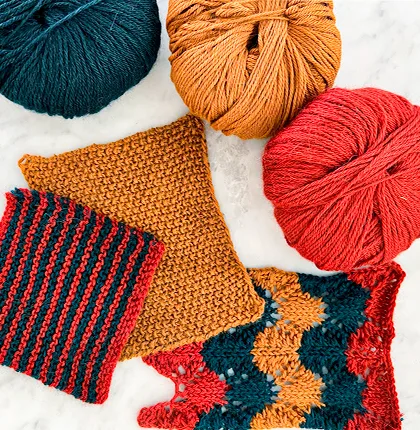
In the collection of patterns released to celebrate Yarnalia‘s new yarn lines, you’ll see several patterns that use increases and decreases to shape the final knit item.
Today on the blog, we are going to be focusing on different knitting decreases, understanding how they work, and exploring how they fit within different designs.
Why Knitting Decreases Matter
Decreases are one of the primary ways that knitters shape their creations. Depending on the decrease method used, a decrease can have a slant to the right or left, or it can be a perfectly straight up and down decrease. It can involve two stitches, three stitches, or even more.
But beyond being functional, knitting decreases are also decorative. The choice of which decrease to use in your knitting project is driven not only by which direction you want the decrease to go and how many stitches you want to decrease by, but also by what that decrease looks like.
Some decreases are really prominent, while others are harder to see. Sometimes, a decrease that leans in one direction pairs really well with a decrease that leans in another direction.
Once you know and understand the decrease options available to you, you can make your own informed decisions. If you are working on a project and you see that the designer has used a decrease you don’t particularly like, you can substitute another decrease that you do like.
This sort of customization is one of the benefits of knitting! Using your preferred knitting decreases, you can make your garment uniquely yours.
About the Yarn Used – Yarnalia’s Wooly Yarn
In these swatches, we’ve used our new Wooly yarn to show you examples of different decrease styles. Wooly is a 100% superwash merino wool yarn with four plies. Yarnalia’s Wooly yarn’s construction is ideal for demonstrating stitches because it is crisp and plump, so there is excellent stitch definition. The wool content of Wooly also allows for it to block out more smoothly than an acrylic yarn would do.
Left-Leaning Two-Stitch Decreases
Let’s start first with the left-leaning knitting decreases that use two stitches, and therefore decrease your total stitch count by one stitch. There are three versions we’re going to cover today: the ssk, the skp, and a variation on the skp with a twisted stitch.
First up is the ssk. That’s the column of decreases circled in green in the photo that accompanies this section. The ssk, formally known as the slip slip knit, is the most common left-leaning decrease stitch. To work the ssk, you slip two stitches individually knitwise, transfer them back to the left needle, and then knit them together through the back loop.
This decrease is very popular, but some find it has a slightly lumpy profile, especially when you have several of them stacked on top of each other. If you find that your ssk decreases are looking a bit higgledy piggledy, try one of the other left-leaning knitting decreases below.
Our next decrease is the skp. The skp, or the slip one, knit one, pass slipped stitch over, is a little fussier but some knitters find it sits more smoothly among the stitches around it. The column of decreases circled in red is a column of skp decreases.
To work the skp, you slip one stitch knitwise, knit a stitch, then insert your left needle tip into the slipped stitch and pull it up and over the knit stitch. It is very much like binding off, but you are only doing one stitch, and the stitch being passed over is slipped, not knit.
Finally, we have a variation on the skp, which involves a twisted stitch. In the photo that accompanies this section, it’s the column circled in blue. You’ll see that, in comparison to the skp, it pops out just a little bit more from the surrounding stitches.
To work this variation, everything is the same as the skp, but instead of slipping the first stitch knitwise, you’ll slip it purlwise. Then, when you pass it over the knit stitch, you’ll maintain the original twist of the stitch as it sat on the left needle.
Right-Leaning Two-Stitch Decreases
For today’s post, we’re covering just two variations on a right-leaning two-stitch decrease. The first is the standard k2tog, and the second is a backwards version of skp. These two knitting decreases will take care of most of your right-leaning two-stitch decrease needs.
First, let’s look at k2tog. The k2tog is a classic for a reason. It’s quick, it’s easy, and it’s crisp. In fact, there aren’t a ton of situations where we recommend using a different decrease. To work the k2tog, you simply insert your right hand needle into two stitches on your left hand needle at the same time as if to knit them and work one knit stitch.
In the photo that accompanies this section, the k2tog decreases are circled in red. If you’re looking for a right-leaning two-stitch decrease that pops just a bit more, though, try this variation on the skp. Remember, skp ordinarily leans to the left.
In this version, you’ll knit one stitch, return it to the left hand needle, insert the tip of your right hand needle into the second stitch from the tip of your left hand needle, and then pass that stitch over the knit stitch you just returned to the needle.
Then you’ll pass your knit stitch back to your right-hand needle and continue working. In this photo accompanying this section, these decreases are circled in blue.
Three-Stitch Decreases
For today’s post, we’re covering three different decreases that use three stitches, and therefore decrease your total stitch count by two stitches.
First up is the classic sk2togpsso, sometimes also abbreviated as sk2p, sk2togp, or sk2psso. To work this knitting decrease, you slip one stitch knitwise, knit two stitches together, and then pass the slipped stitch back over the new stitch you just knit.
On the photo that accompanies this section, the column of these decreases is circled in green. It’s a fun decrease with a decorative element. If you want it to pop even more, you can slip the first stitch purlwise.
The next three-stitch decrease is the cdd, or center double decrease. In the photo accompanying this section, these are the decreases circled in red. To work this stitch, you slip two stitches together knitwise, knit one stitch, and pass the two stitches together back over the knit stitch.
This results in the center stitch being the stitch that sits on top of the decrease, creating an almost invisible centered decrease. If you’re looking for a decrease that uses three stitches, has no lean, and is hard to see, this is your decrease.
The final decrease is a left-leaning decrease that uses three stitches. In the photo accompanying this section, these decreases are circled in blue. To work this decrease, you slip two stitches individually purlwise, knit one stitch, and pass the two slipped stitches individually back over the knit stitch.
This creates a really textured decrease with a leftward lean. If you want a decrease that creates an almost bobble-like effect, this is a great choice.
Do you have a favorite decrease we haven’t covered in today’s blog post? We’d love to hear from you. Drop us a note in the comments with thoughts about which knitting decreases you’d like to see us cover next.

